
Cancelling Your Account
Stop paying and keep your work on the Free plan, or cancel the account entirely. What cancelling deletes, and how to restore it.
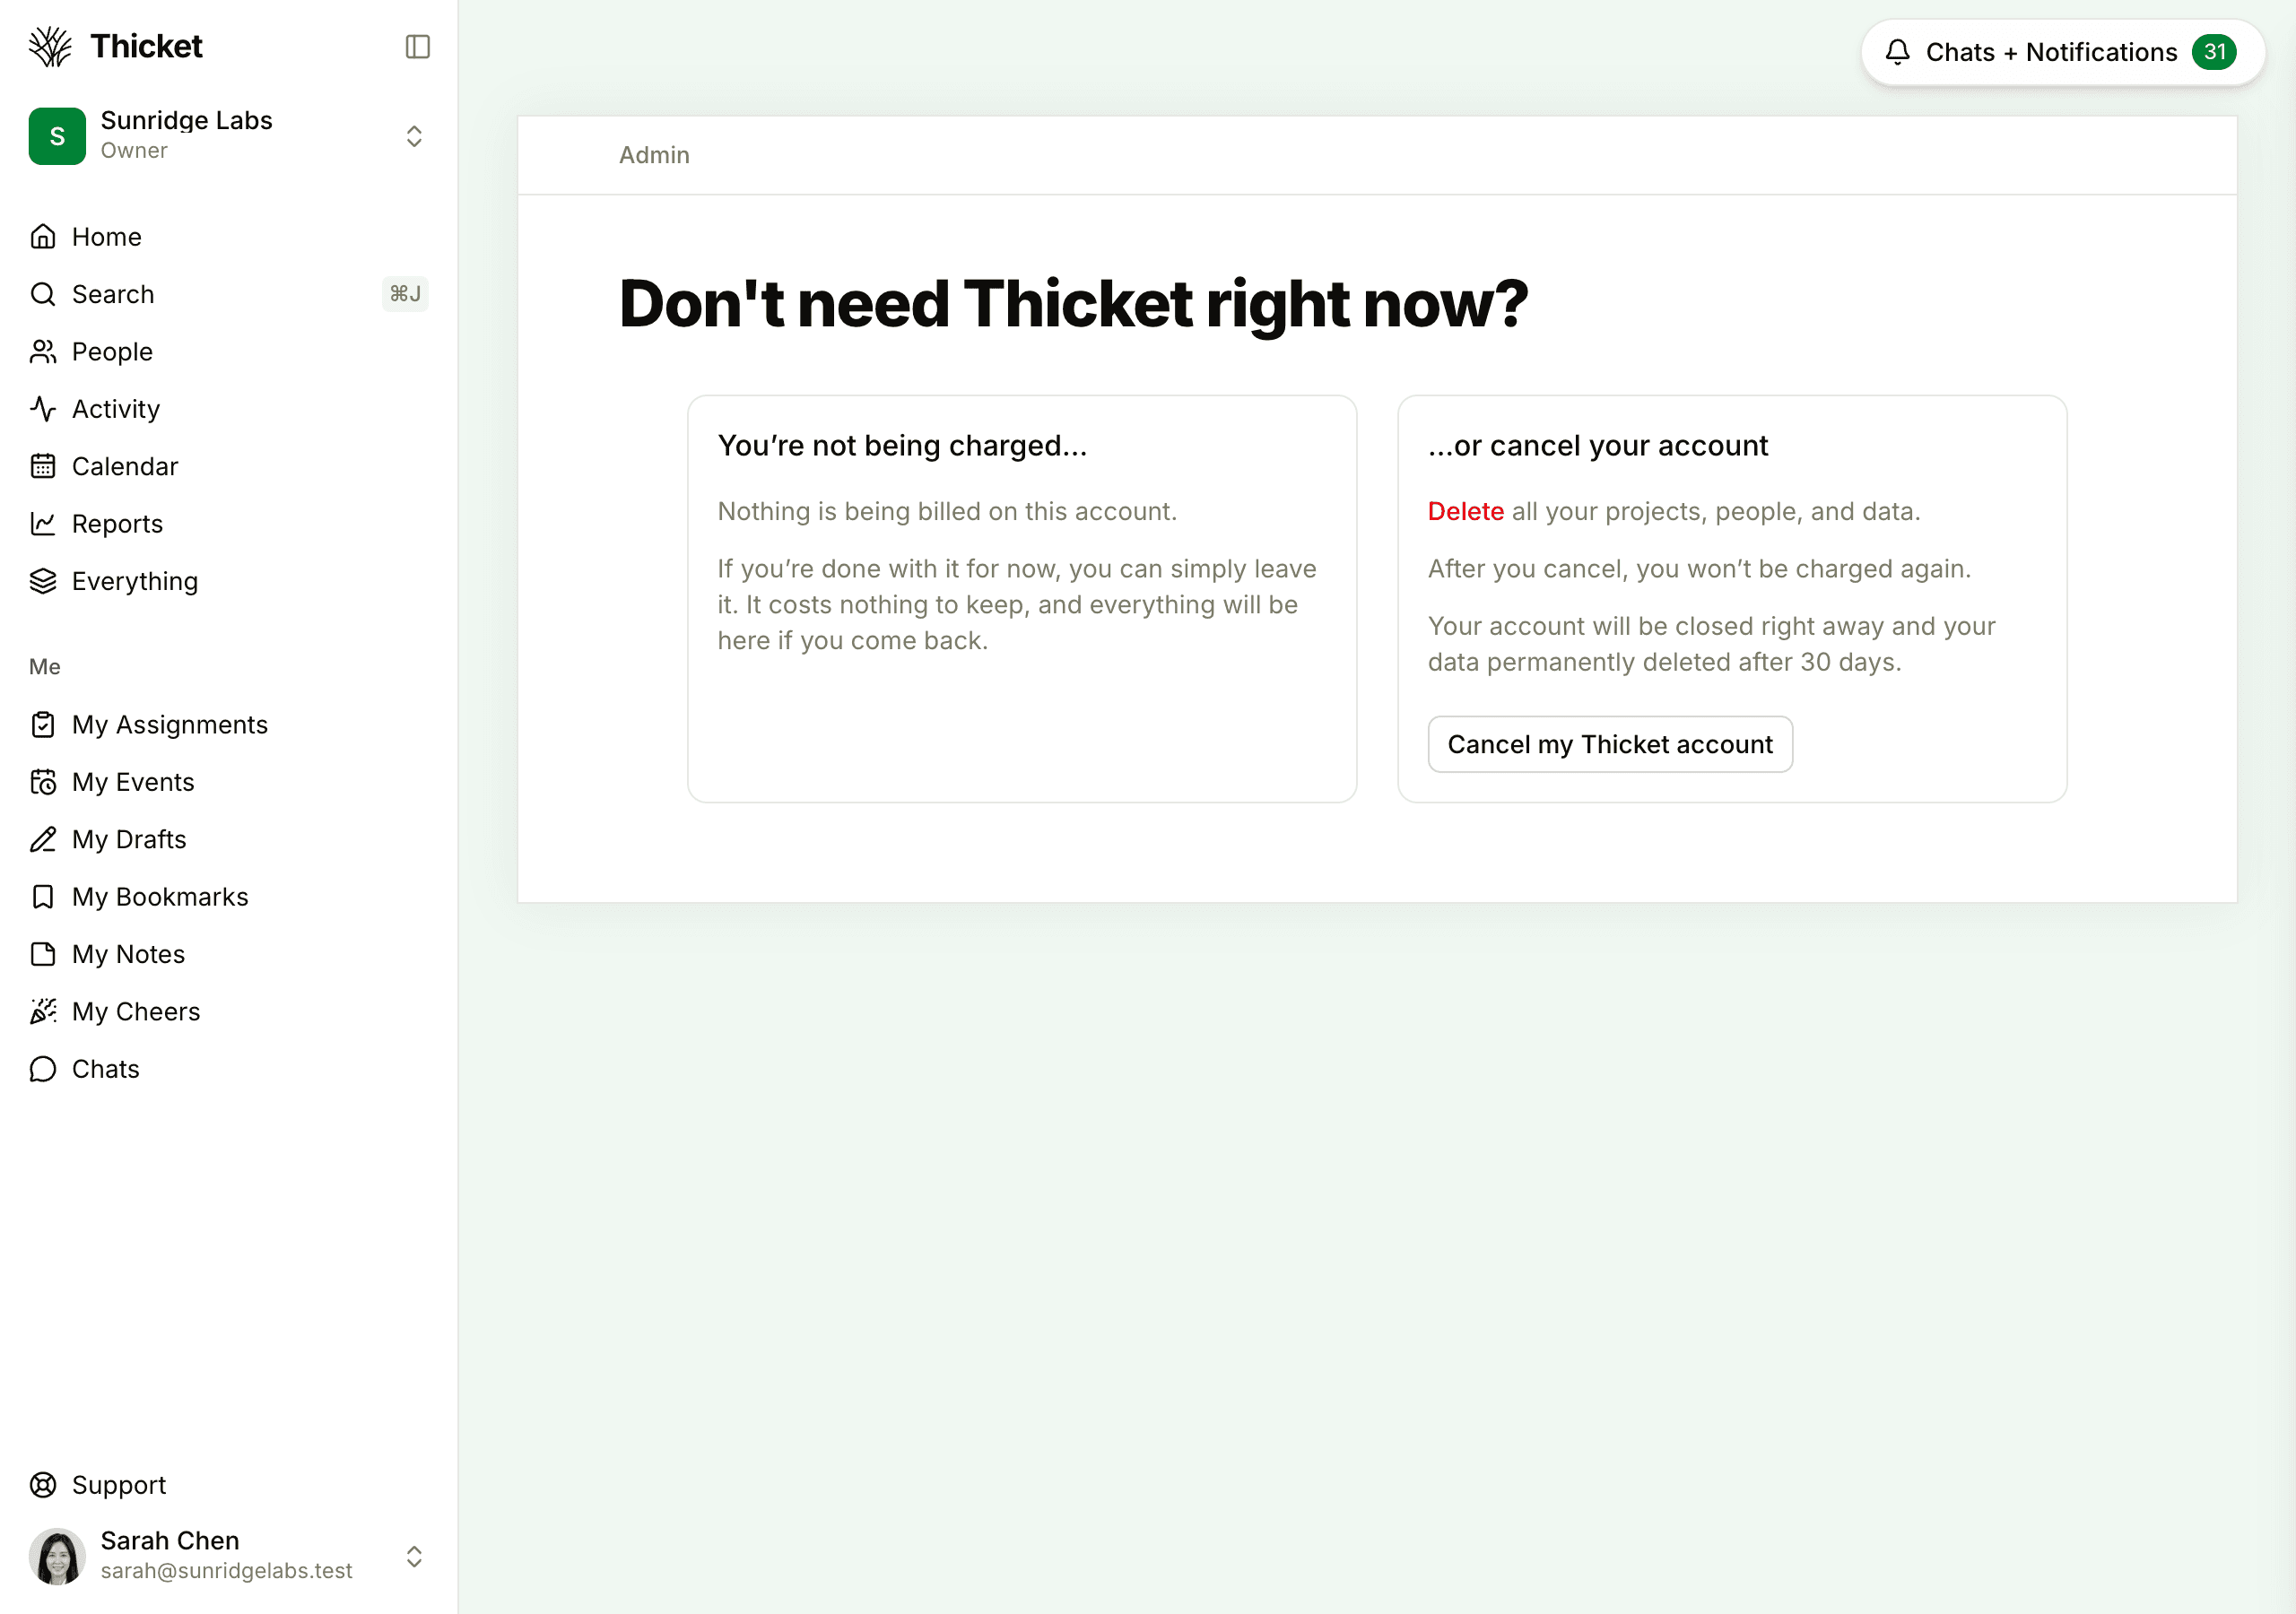
Only account owners can cancel. First decide which of two things you want: to stop paying, or to close the account and delete everything in it. Thicket keeps them separate, and both start at Admin > Cancel account.
Just Want to Stop Paying?
You don't need to cancel the account to stop paying. Switching to the Free plan keeps every project, person and file.
- Go to Admin > Cancel account.
- On You can switch to the Free plan…, click Switch to the Free plan.
- Confirm on the Stripe page that opens.
Your subscription runs to the end of the period you've already paid for, then the account moves to Free. If it has more than one active project then, an owner or admin chooses which one stays active and the rest are archived, not deleted. See Thicket for Free.
If there's no paid subscription to stop, or it's already ending, the first card says so instead:
- During a free trial with no card on file, nothing will be charged. Do nothing, and the account moves to Free when the trial ends.
- If your subscription is already set to end, the card shows the date, and there's nothing more to do.
- On the Free plan, nothing is billed, and the account costs nothing to keep.
What Happens When You Cancel
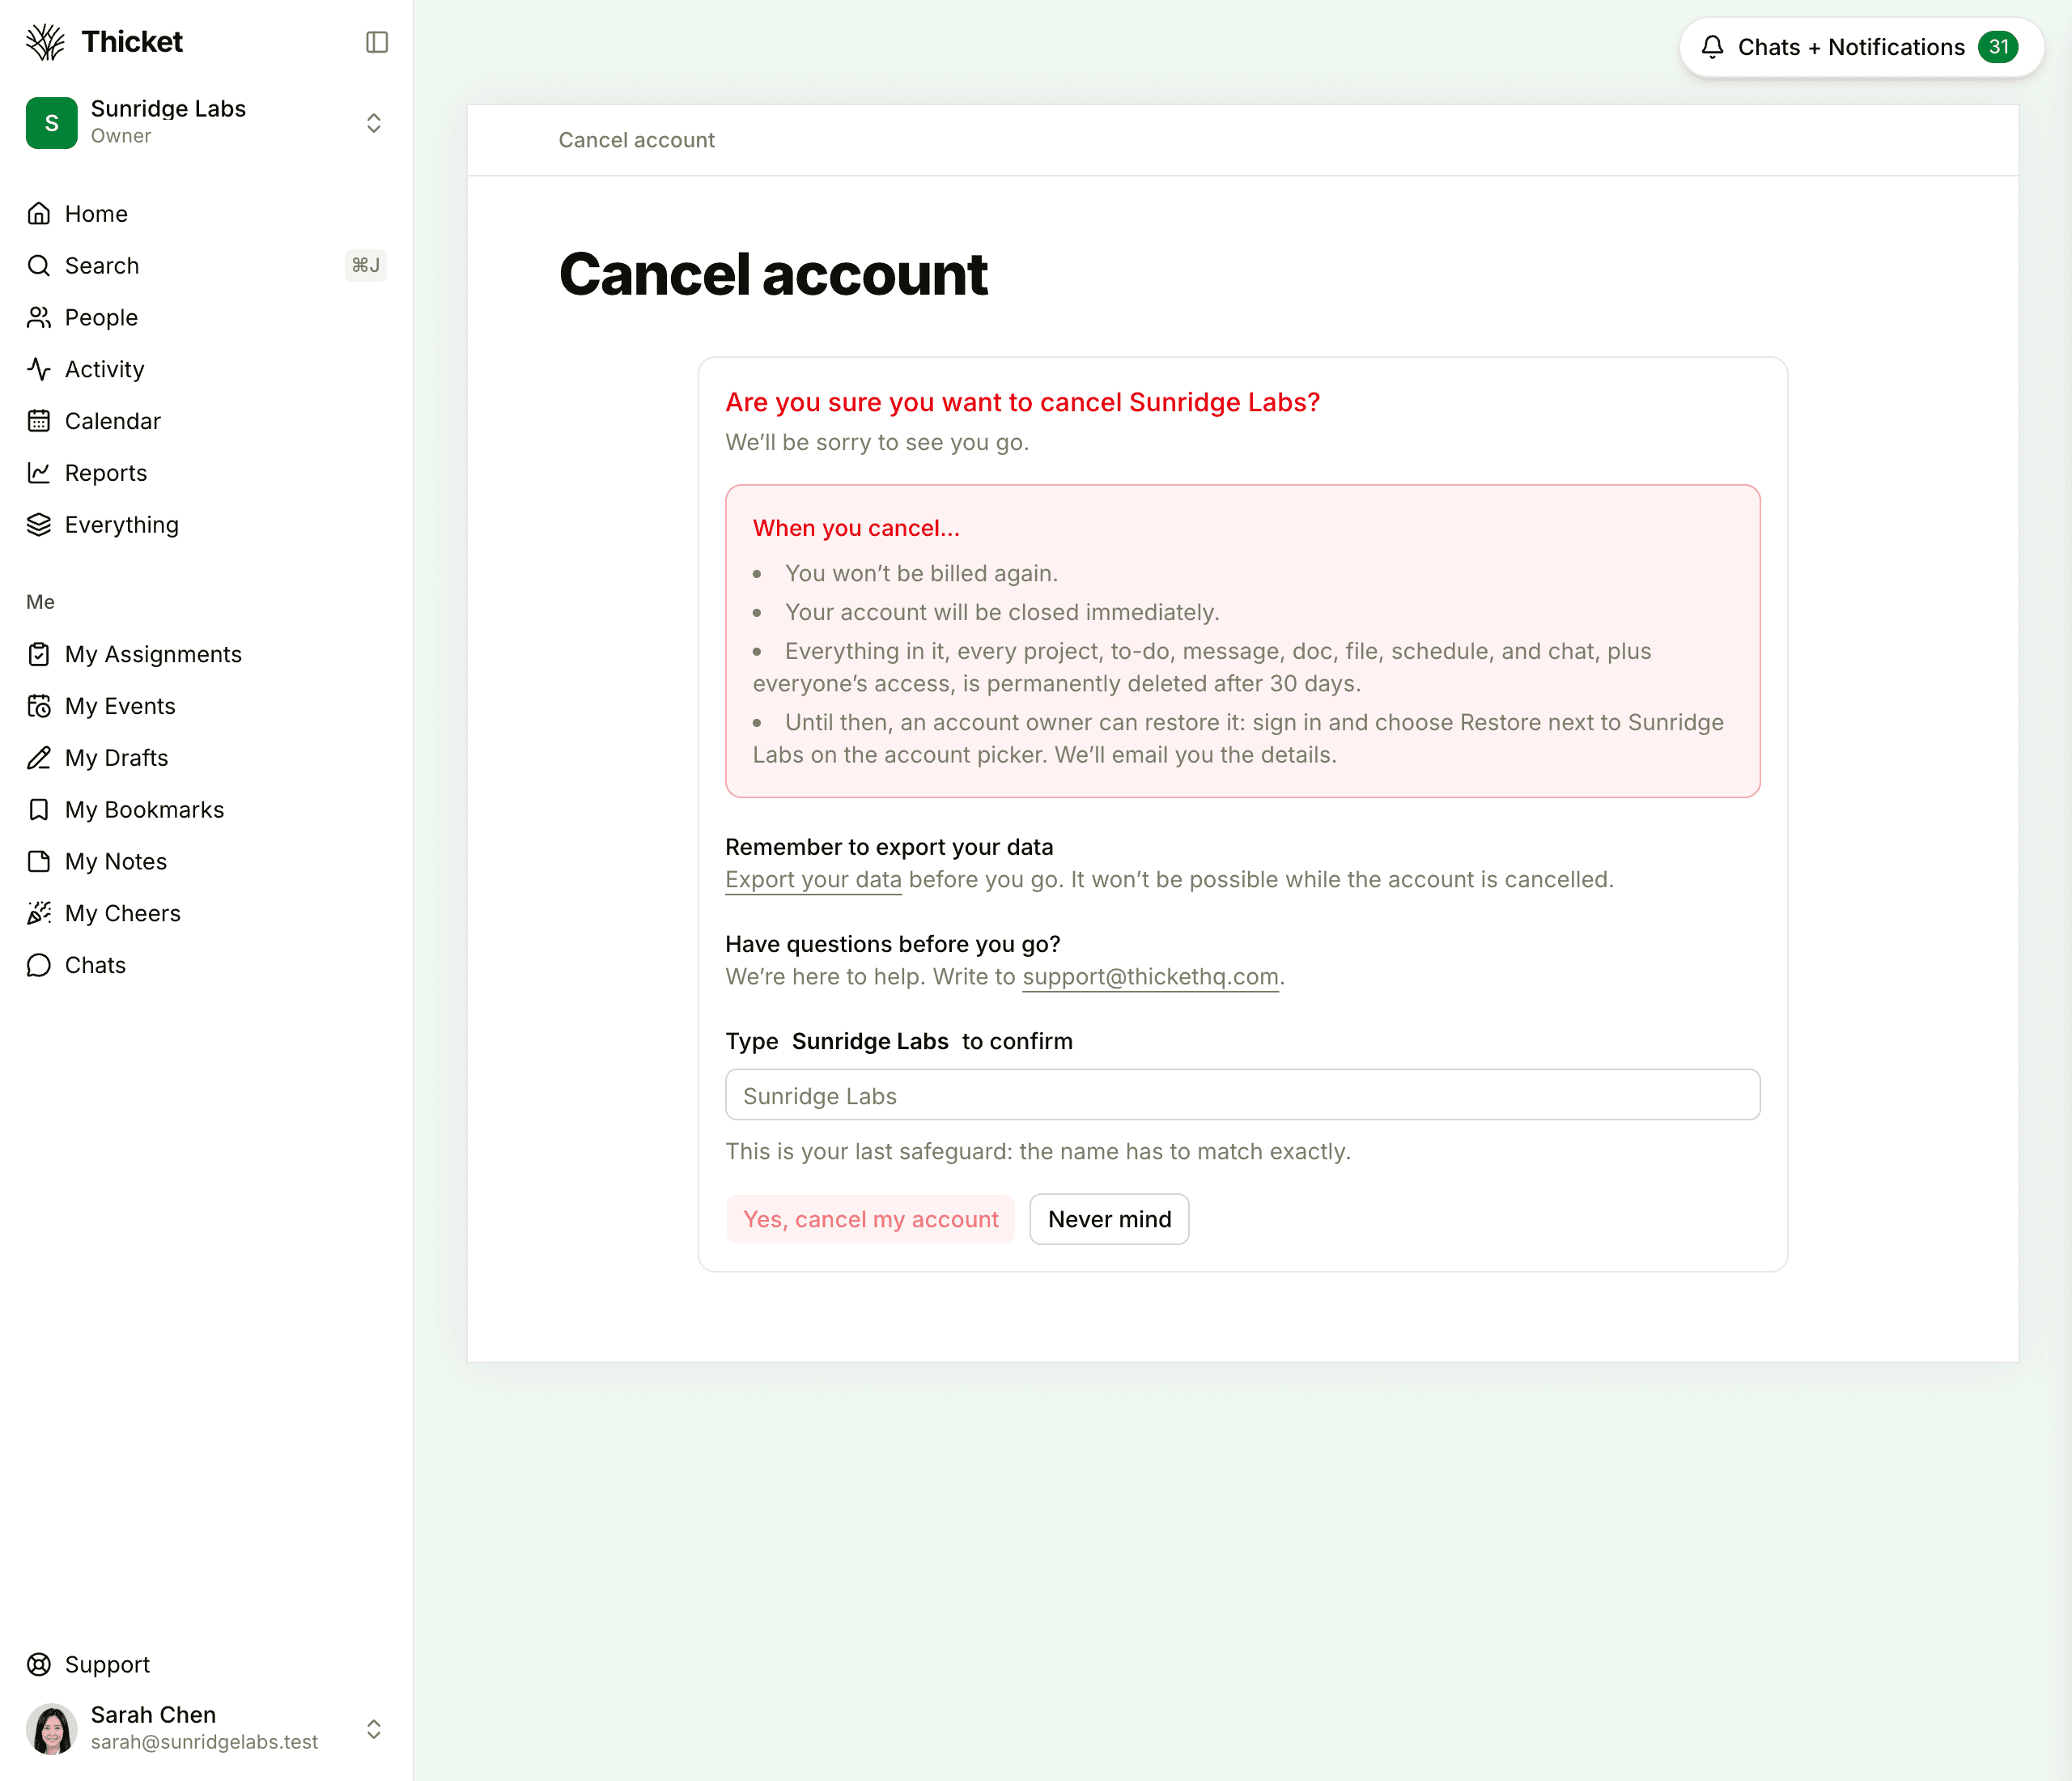
Cancelling the account closes it for everyone:
- The account closes immediately, and nobody can get into it.
- Billing stops, and you won't be charged again.
- Every owner gets an email confirming the cancellation, with the last day it can be restored.
- After 30 days, everything in it is permanently deleted: every project, to-do, message, doc, file, schedule and chat, and everyone's access.
If you want a copy, export it before you cancel: a cancelled account can't be exported. See Exporting Your Data.
Cancelling the Account
- Go to Admin > Cancel account.
- On …or cancel your account, click Cancel my Thicket account.
- Read When you cancel… on the next page.
- Type the account's name exactly as shown.
- Click Yes, cancel my account. To back out, click Never mind.
Restoring a Cancelled Account
For 30 days after cancelling, any owner can bring the account back with everything in it:
- Sign in and go to thickethq.com/orgs. If the cancelled account was your only one, signing in takes you there.
- Under Recently cancelled, find the account. It shows the date it will be deleted for good.
- Click Restore.
You land straight in the restored account. After the 30 days are up, it can't be restored.
Cancelling ends any paid subscription. If you restore the account and want a paid plan again, subscribe from Admin > Billing.
Cancelling Isn't Deleting Your Login
Cancelling closes the organization, not your own Thicket login, which keeps working for any other organizations you belong to. To delete your own login instead, see Delete your Thicket account.
If You Aren't an Owner
Only owners can cancel an account. The top of Admin lists the owners: ask one of them.